These might look weird but they were GREAT! Gluten free is a whole different ballgame! My best friend is gluten free so I’ve been experimenting more and reading more about gluten free baking. It’s a lot different because everyone has their ratios they like for flour. Some taste better, some are more or less grainy, some are better for yeasted bread, some are better for sweets. My best friend said one thing she missed about real bread was how it would stick behind your teeth and on the roof of your mouth and when I gave her these SHE SAID IT DID THAT! She said it was the best gluten free bread she’s had so I’m taking the win!
The recipe mentions psyllium husk powder. (There’s a link to what I used) I had never heard of this but basically it acts as “gluten” development in bread. Those gluten strands trap air bubbles and in gluten free bread it’s hard to get that same type of thing. Xanthan Gum is also a binder that mimics this but is more suited for baked goods where you don’t want gluten development like cookies and cake. Most GF APF mixtures still contain Xanthan Gum, but for bread, you’ll want psyllium husk powder to help mimic the gluten structure.
INGREDIENTS
- 3 cups gluten free all-purpose flour. The best blend for yeasted bread is Cup4Cup (I found it at walmart but here’s a link to their website)
- 2 tablespoons sugar
- 1 packet instant yeast
- 2 tablespoon psyllium husk powder
- 1 teaspoon baking powder
- 1 teaspoon salt
- 1 1/2 cups warm water (100°-110°)
- 2 room temperature eggs
- 1/4 cup olive oil
TOPPING INGREDIENTS
- 3 tbsp melted butter
- Parmesan cheese to taste (I used the shaker kind you keep in the fridge)
- Garlic powder or minced garlic to taste (I used garlic powder)
- Salt to taste
- Italian seasoning to tase
INSTRUCTIONS
1. Mix all dry ingredients together (flour, sugar, yeast packet, psyllium husk powder, baking powder, salt)
2. Using a paddle attachment (not dough hook), add warm water, eggs, and olive oil to the dry mixture. Mix and scrape down edges then mix for another 5 minutes. It’ll be between batter and dough consistency.
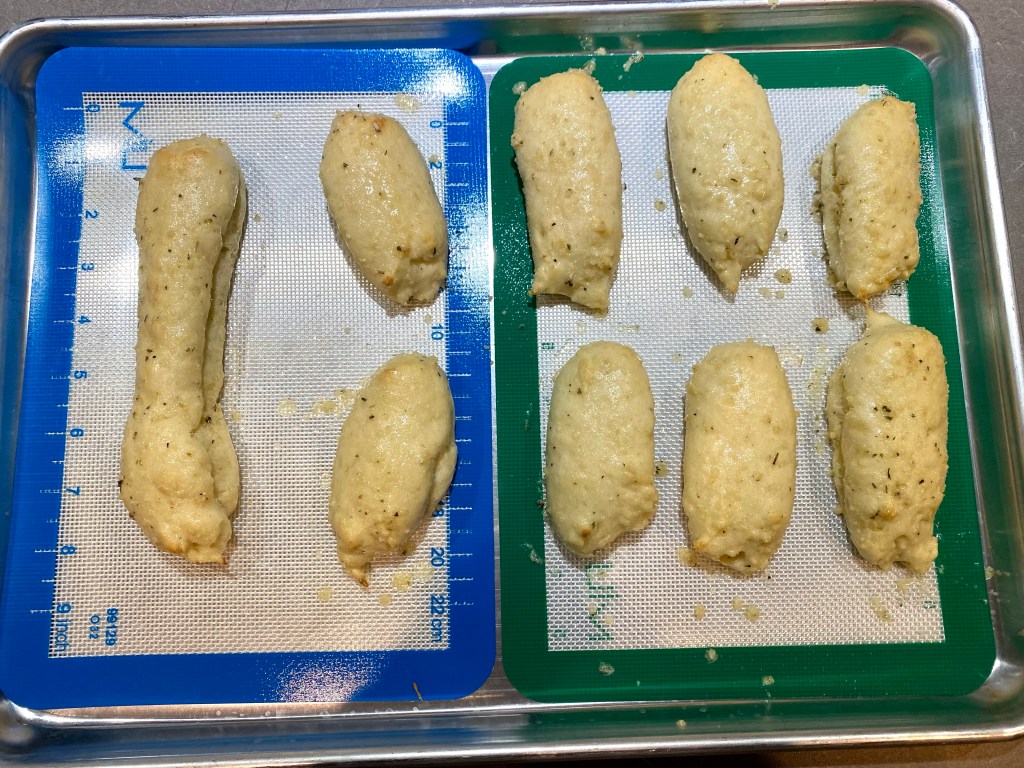
3. Transfer to either a piping bag or a gallon bag and snip off the end about an inch wide to make thick breadsticks.
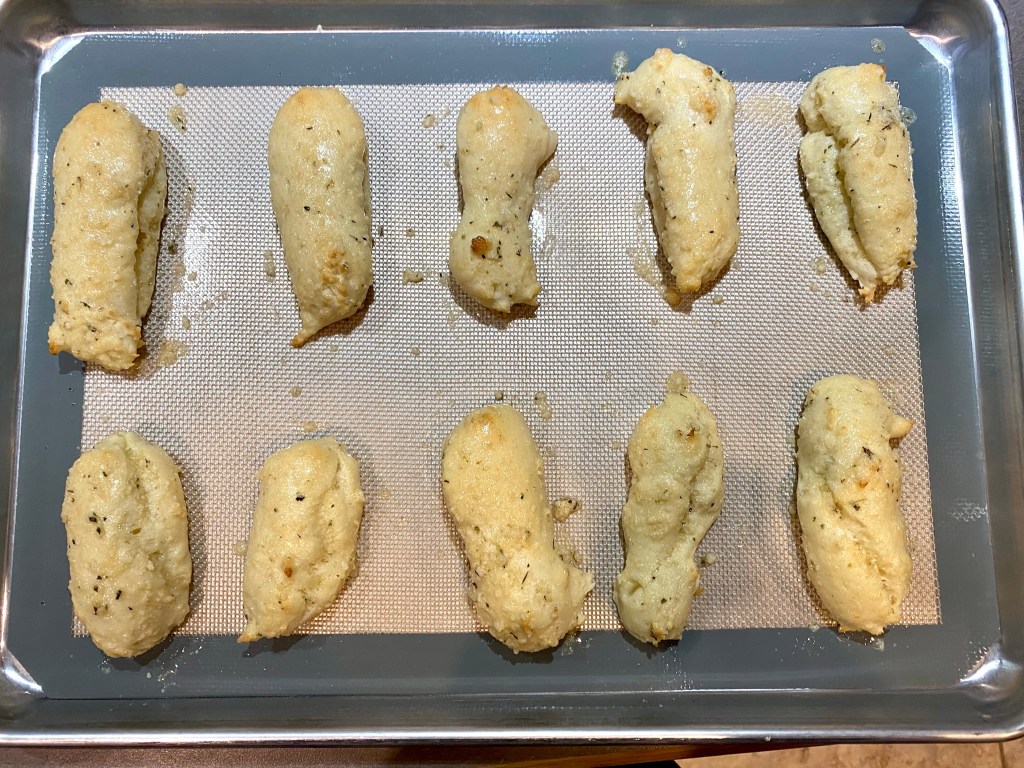
4. Pipe breadsticks onto a baking sheet. I use a silicone mat but parchment paper should work, too. Mine weren’t perfectly shaped so they were between 4-6 inches long. I made 20 breadsticks, 10 on each baking sheet.
5. Place in a warm place for them to rise for 15 minutes. I like my oven with the light on as my warm place.
6. Bake at 375° for 15-25 minutes. They should still be kinda pale when they come out. You want internal temp to be around 190°. Allow to cool for 10 minutes.
7. Top with garlic butter topping. This is just a personal preference for the ratio of seasonings you use.
ENJOY!