OKAY I made this last week but it was such a long process that it took me awhile to actually write down what I did. The process started on Friday morning because I wanted to bake the loaf on Sunday. I did everything weighed in grams because while reading about sourdough it was very precise.
DAY 1 (Friday)
Friday morning I fed my starter. I had created my starter 2 weeks prior to this to get it good. I moved 20 grams of my starter to a separate container and added 100 grams of water and 100 grams of all purpose flour. Then I let it sit and double in size. It’s cold here so it took 13 hours. Then I did another feeding (Friday night) I discarded all but 20 grams of that mixture and added 100 grams of water and 100 grams of all purpose flour. Let it sit at room temperature.
DAY 2 (Saturday)
Most of the work was on Saturday. You’re going to start your dough in the morning. I used 700g bread flour and 300g whole wheat flour. Then I added 750g of water to the flour. You talk about sourdough in percentages so this would be 75% hydration dough because for 1000g of flour there was 750g of hydration (water). I mixed it with a flexible bowl scraper until it was all hydrated and I covered it with a damp towel and let it sit for 30 minutes. This mixture is where most of your gluten and dough stability is coming from.
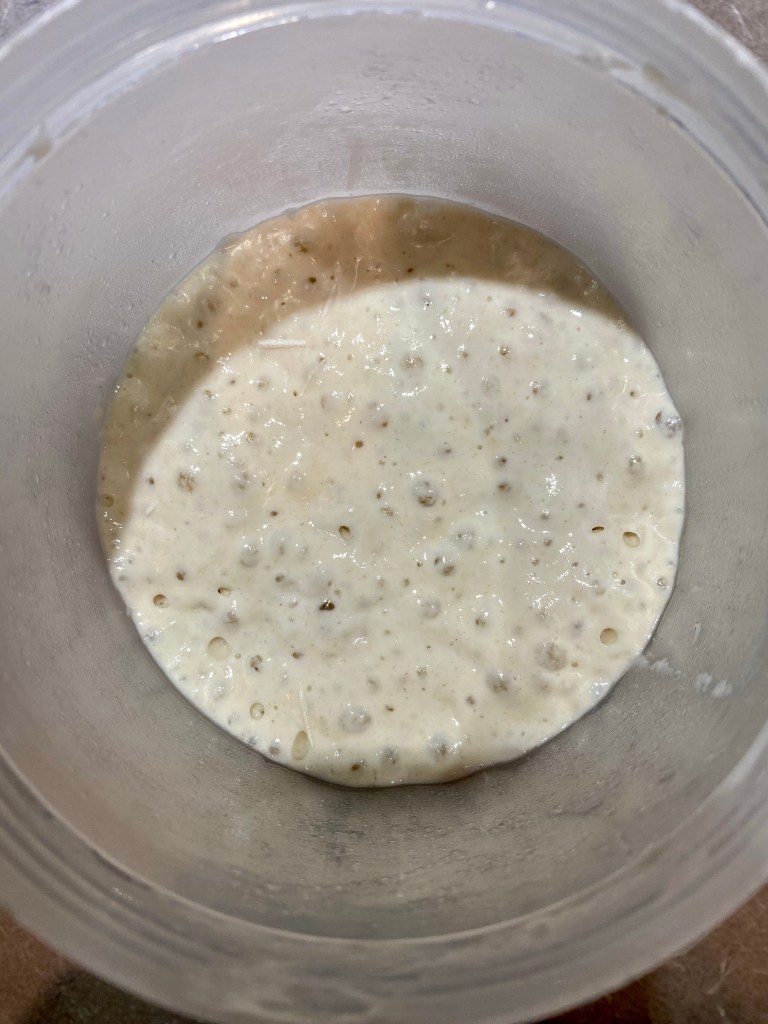
So this is where I kinda messed up. By the time it’s rested, you’re supposed to put your starter you left overnight into it. I think I let my starter sit a little too long so it had already passed that perfect height of doubling in size and had started to fall again. I decided to sleep in on Saturday morning when I should’ve woken up earlier to do it. But this I think was one of the reasons why my loaf didn’t rise as much as it could’ve.
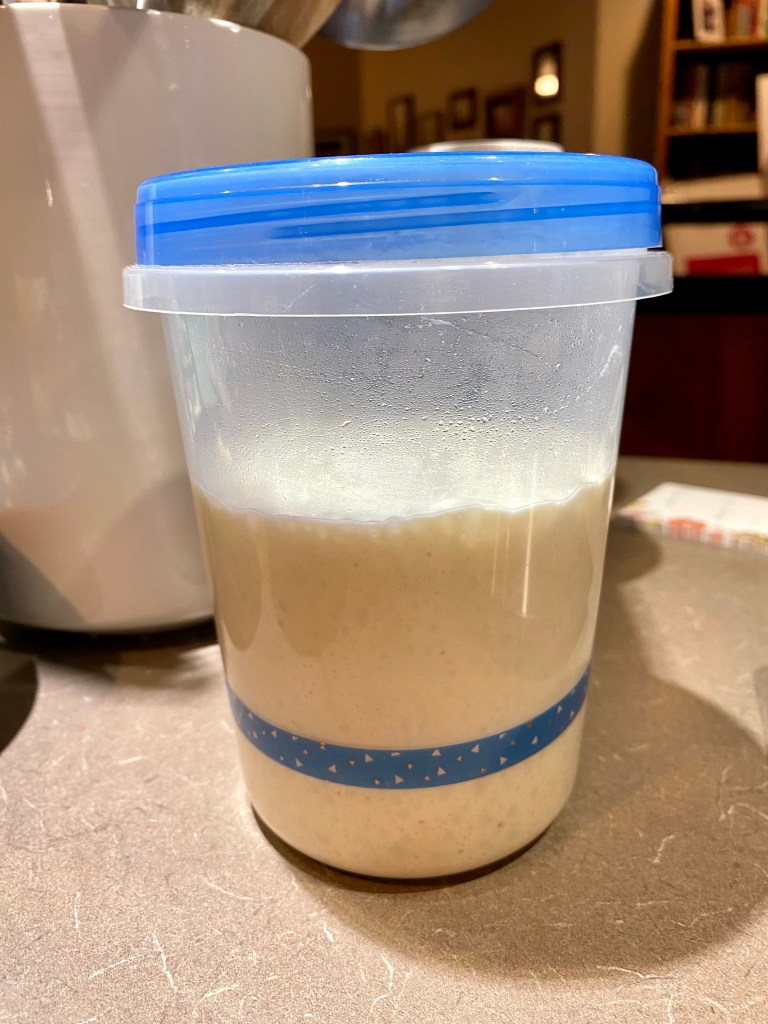
So you can do a float test to see if the starter is ready. You take a little chunk and see if it floats in water. If it does, that means it has enough gas and is ready. But I read that you could also go by height that it doubled instead. Mine didn’t float but it WAS doubled in height so I went for it. Should’ve known better!
I added 200g of my starter to that flour-water mixture and mixed it kinda doing a pinching motion with my hand. This is when I added 20g water and 20g salt to the dough and mixed with that pinching motion. Next time though I think I would use my stand mixer to mix everything. Cover it with the towel and let it sit for 10 minutes.
Next we’re going to develop the gluten! This is what gives the bread stability because sourdough is a very slack dough. So I used my hand to scoop under the dough ball and bring up a side and stretch it until it stops pulling and and then fold it over the top and press down. It said to do this for 10 minutes but not enough gluten had formed so I did it for another 10. You can do the windowpane test to see if you can see some light through a stretched piece of dough.
I moved the dough ball to a clean and damp bowl and this is what started the “bulk fermentation”. It’s a series of folds that you do to create stability in the dough and trap gas and bubbles and help the rising of the dough. After moving it to a clean bowl, I let it sit for 60 minutes.
After the 60 minutes I took a wet hand because the dough is super sticky and gently slid my hand under the ball and lifted it and folded it on top on the opposite side. I did this on all 4 sides of the ball and then it was covered with the towel to sit and do this again in an hour. This are different than the gluten building folds. Those you could be rough. But these folds are when the starter is starting to feed on your dough and start building all the gas and you don’t want to lose any of that so you have to be gently as to not knock out any bubbles.
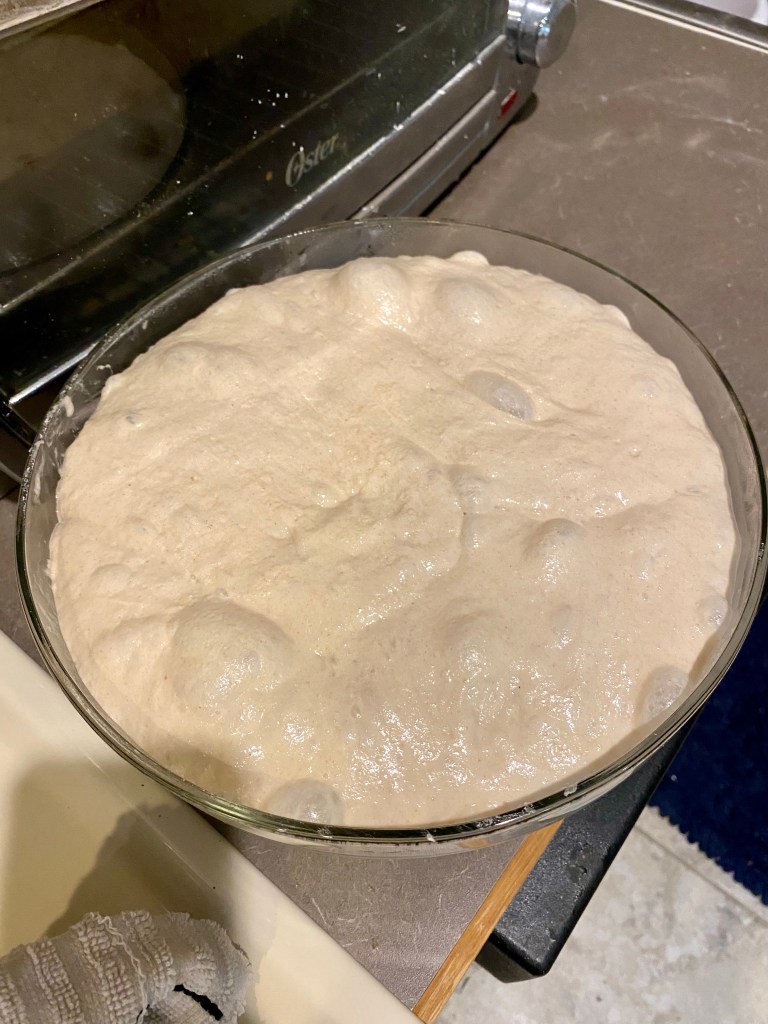
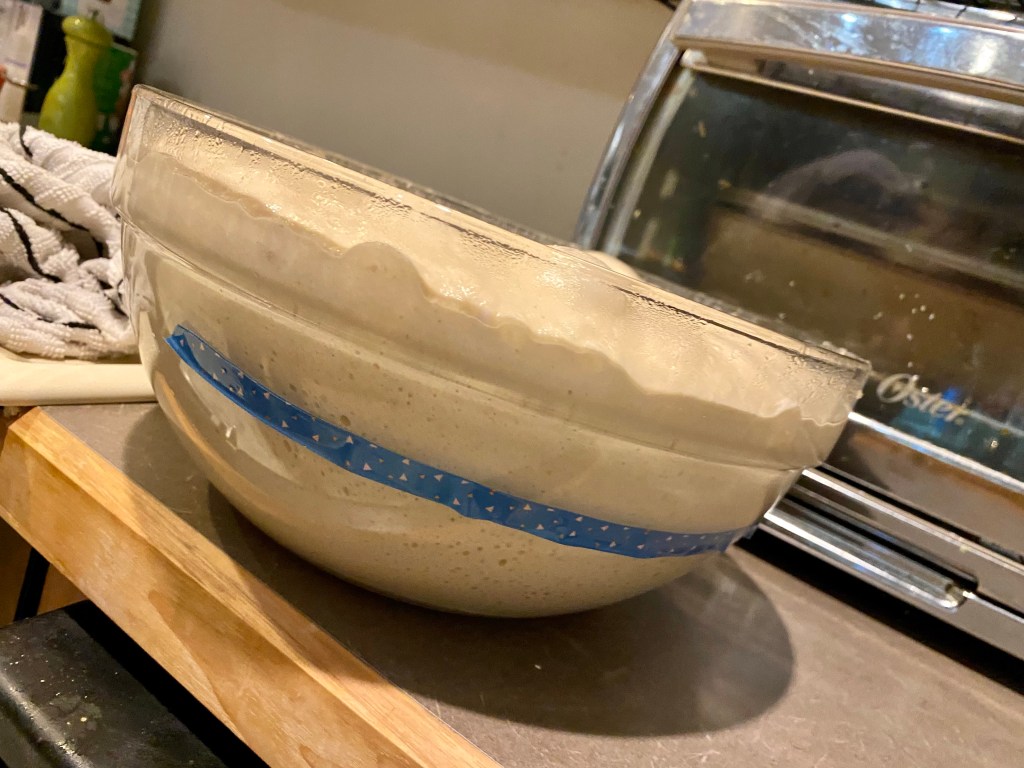
I did this folds 4 times and I should’ve done only 3. This also contributed to my lack of rise. You should stop when it doubles in size. I put a piece of tape on my bowl to measure when it doubled. It doubled after 3 but I wanted to be safe so I let it go for 4. What this did though was it peaked its rise right then when it should’ve peaked in the oven.
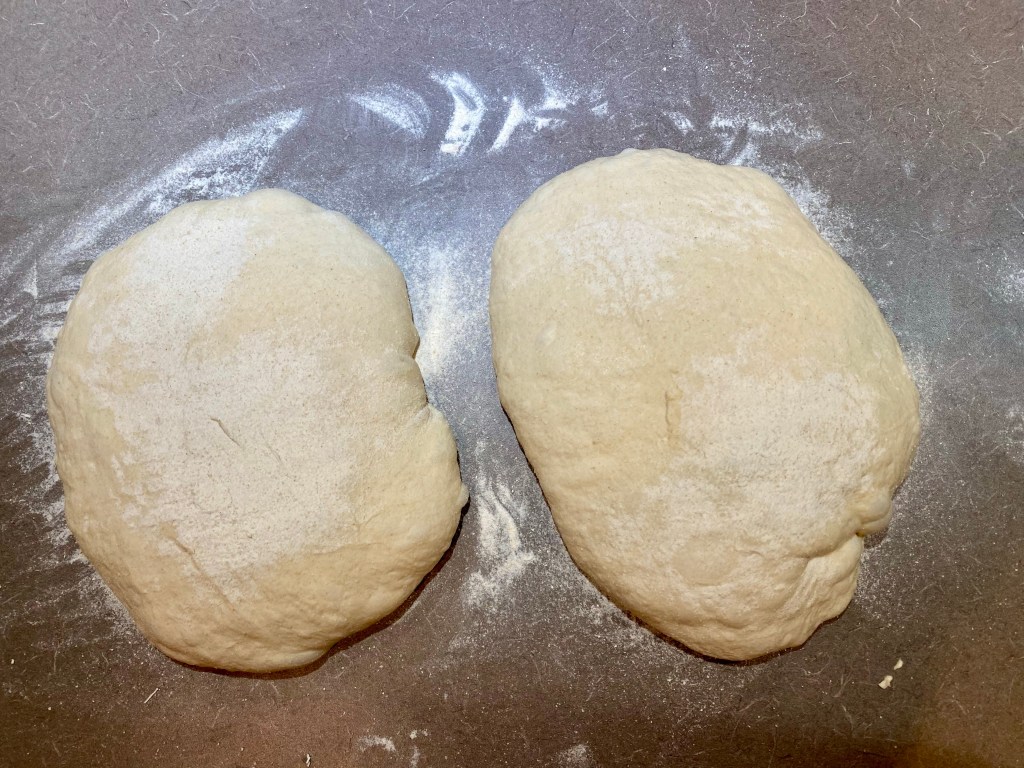
I turned out the dough onto my counter that’s been floured. I let the dough pull itself out of the bowl. I used a bench scraper to cut the dough in half and I lightly folded them into little dough balls. Again, gently because I don’t wanna lose bubbles. I covered them with a towel and let sit for 20 minutes.
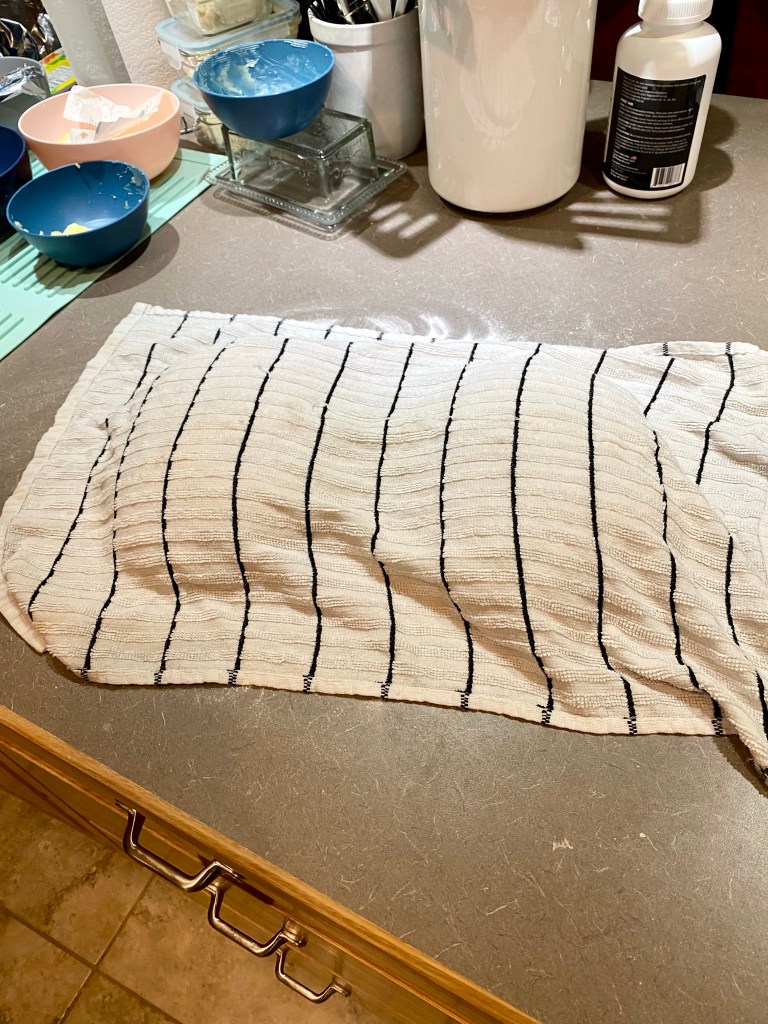
Next I got my baskets ready. I bought one banneton basket and the other dough I used a mixing bowl with a dish towel in it. Then i dusted them with a 50/50 APF and rice flour mixture. Rice flour is really good at absorbing moisture and was recommended for this part.
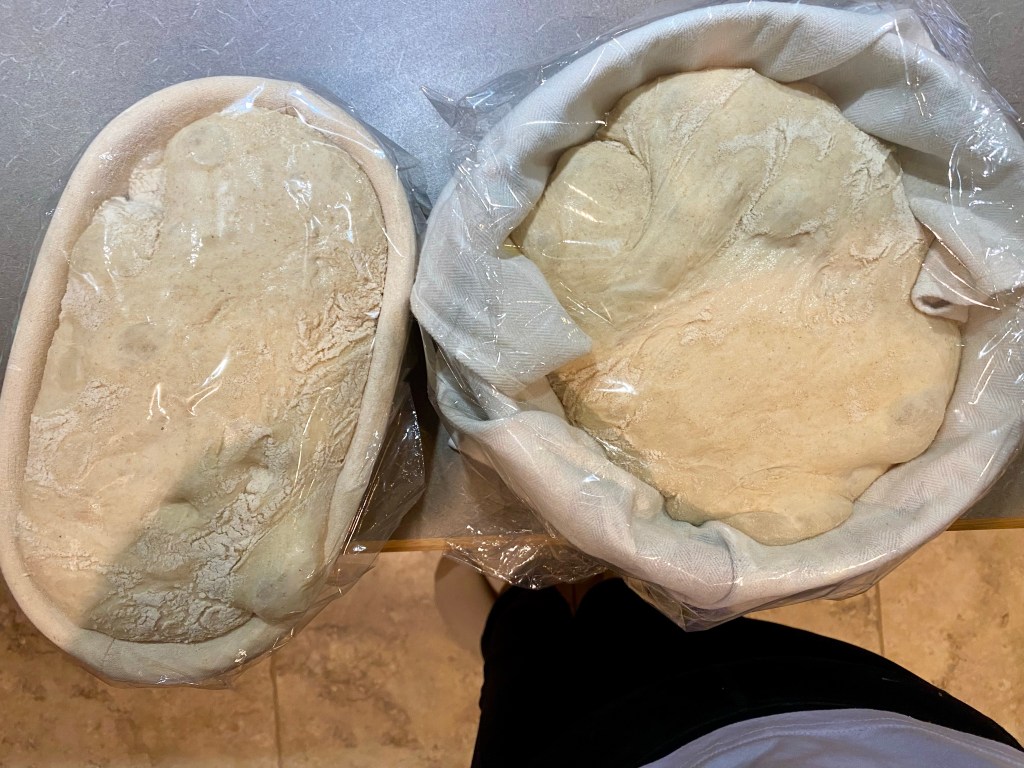
After sitting for 20 minutes, I uncovered and tried to shape the dough. Like I said, it’s a very slack dough and I SUCKED at shaping it. I used a bench scraper to try and tuck all the sides and roll it like a jelly roll. I think I could’ve been a little less hesitant because I was so scared of losing air bubbles. This also could’ve contributed to my lack of rise because the dough didn’t have enough tension when I shaped it. I put it in the dusted baskets seam-side-up. I covered with plastic wrap and let proof for 1 hour. I did a poke test and it was slow to bounce back which was perfect. So I put them in the fridge in their baskets for the next day!
DAY 3 (Sunday)
The dough can actually stay in the fridge up to 48 hours. The more it sits the more “sour” it gets though.
This is when I preheated my oven to 500° WITH my Dutch oven in it (but not the lid) I waited for an hour so that the Dutch oven was fully heated too.
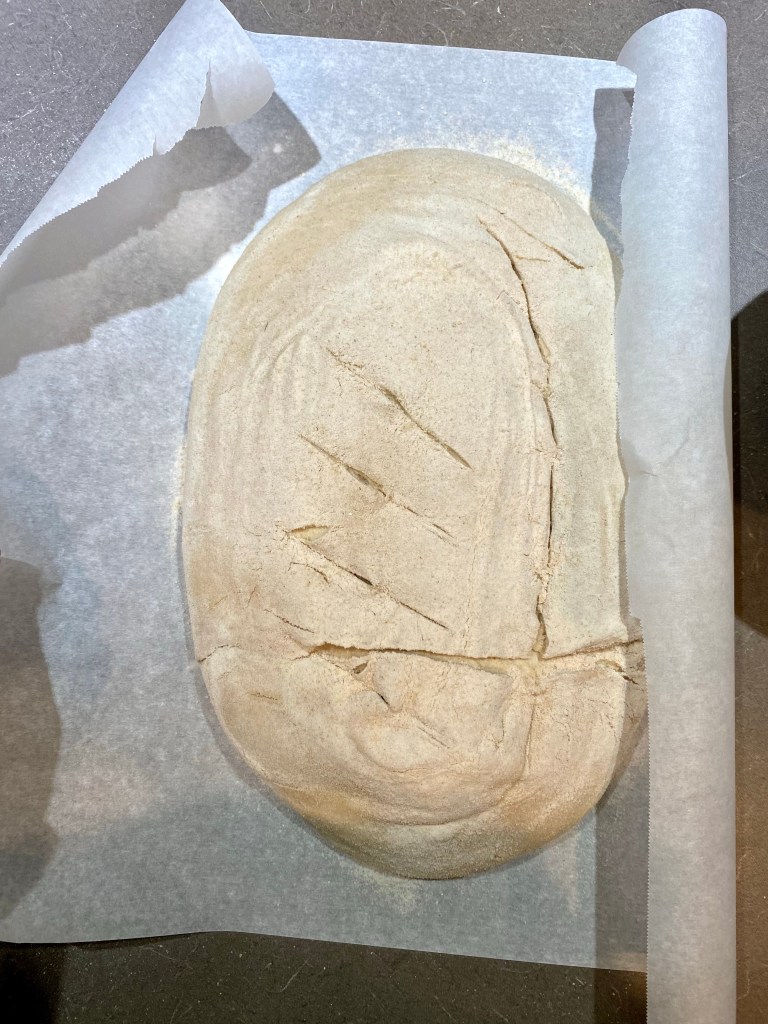
When the oven was ready, I put a piece of parchment paper over the dough ball and flipped it upside down. This is when I did some striking with a razor blade. The cloths left some weird imprints and I was bad at shaping the balls so these didn’t turn out pretty lol.
LOAF 1

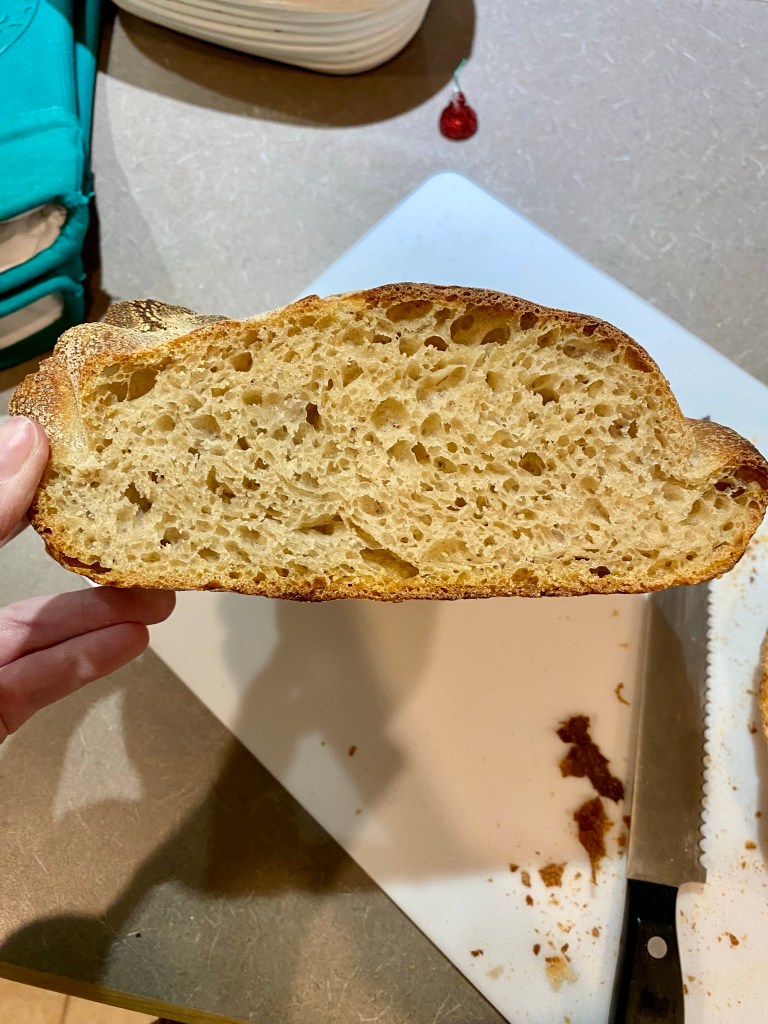
I gave a generous coating of the flour/rice flour mixture on the top before going in. Also my banneton for this was oval and my Dutch oven was round so it got smushed as I place it and was very crinkles and ugly lol
I used the edges of the parchment paper to lower it into my hot Dutch oven. Then I put the lid on and put it in the oven for 20 minutes. Then I lowered the temp down to 450° and took off the lid and baked it for another 30. I transferring it to a cooling rack right away.
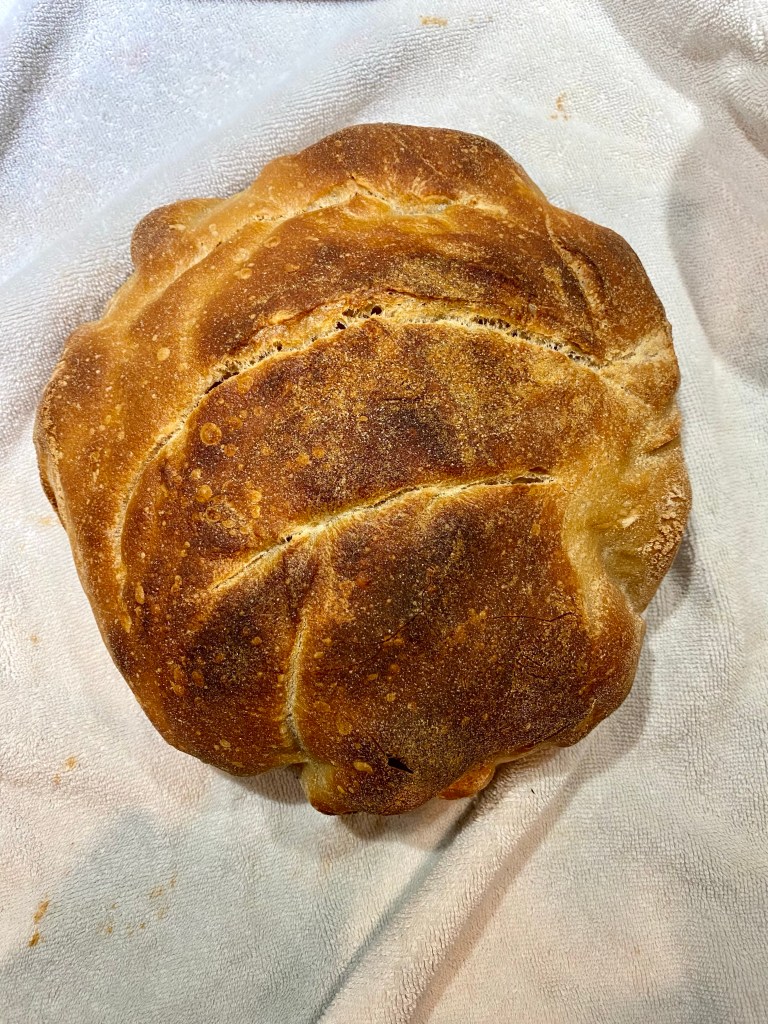
I know in sourdough a thick and crispy crust it a good thing BUT it’s annoying to eat. The first load was dark with a thick crust. So for the 2nd loaf, I wanted to try something different.
LOAF 2

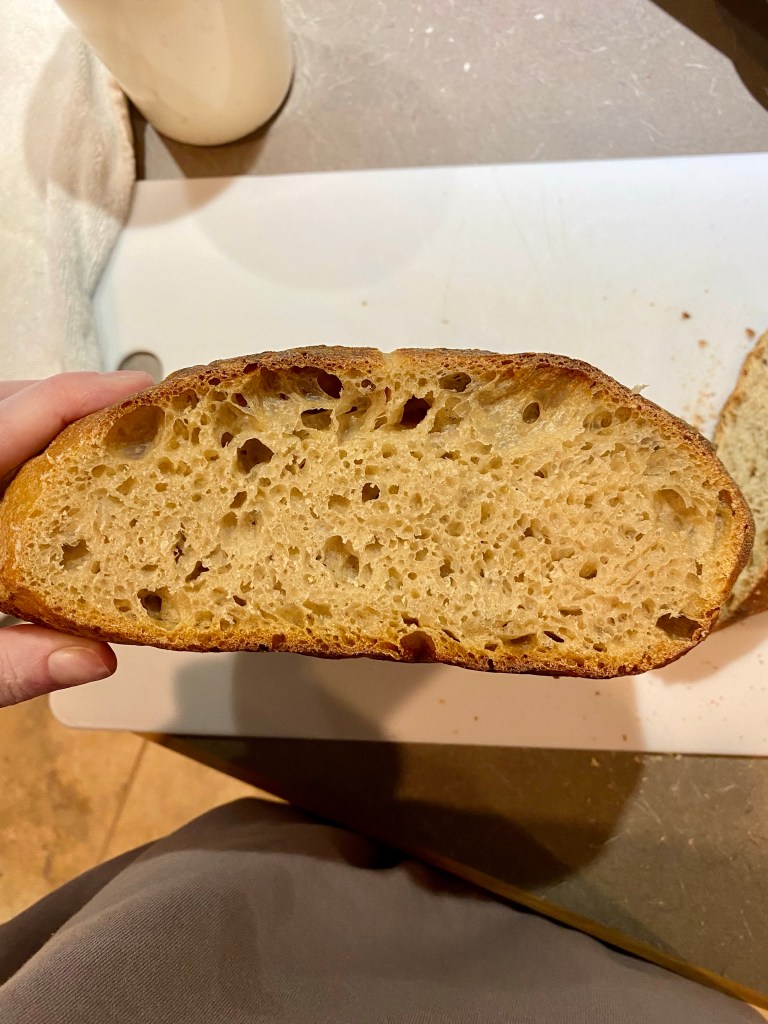
When I preheated the oven I also had a pie plate with water on the rack below the Dutch oven to make it more humid in there. I read some other tips on getting a thinner and softer crust and tried all of them lol
I didn’t add the extra layer of flour before I put it in the oven. After I put it in the Dutch oven, I spritzed the dough with water and then put the lid on. This helps trap moisture to allow the crust not to be a hard.
I baked it at 500° for 20 minutes and turned it down to 450° BUT I kept the lid on. I baked it for 30 more minutes but only took the lid off for the last 10.
As soon as it came out, I wrapped it in a dish towel so that the heat would kinda “sweat” the loaf and allow it to be soft.
CONCLUSION
I learned a lot for next time! The second loaf was more our style with the softer crust! It was still crispy but I stored both in ziploc bags and after a day both had softer crusts.
This is definitely a labor of love but it was super cool and I’m excited to get better at it! We’ve mostly just eaten it with butter and made some grilled cheeses.
