This was my first time trying a choux pastry! Everyone always said these are deceivingly easy and I would say they’re right. They come together pretty fast if you need something right then that’s fancy.
As always, I did a little batch so I don’t waste things. I watched lots of videos because I was worried about messing up so I didn’t really use a full recipe anywhere because I did a mixture of what I saw so I’m gonna type what I used.
PASTRY INGREDIENTS
- ⁃ 1/2 stick butter
- ⁃ 1/4 cup water
- ⁃ 1/4 cup whole milk
- ⁃ 1/8 teaspoon salt
- ⁃ 1 teaspoons granulated sugar
- ⁃ 1/2 cup all-purpose flour
- ⁃ 2 large eggs room temp
- ⁃ 1 extra eggs for dough AND egg wash
WHIPPED CREAM INGREDIENTS
- ⁃ 3/4 cup cream
- ⁃ 1/2 cup sugar
- ⁃ Splash/1 tsp vanilla
INSTRUCTIONS
Preheat oven to 425°
1. Melt butter, water, milk, salt, and sugar in a pot all together over medium heat. When it starts to bubble, immediately put flour in.
2. Turn the heat to low and start off my stirring slowly so flour doesn’t go everywhere but then stir vigorously. Do this for a few minutes until a little film of dough starts to form on the bottom of the pot. Immediately transfer to your stand mixer bowl. Let sit for 2-3 minutes to cool slightly.
3. With the paddle attachment, mix the dough in the bowl to release some steam and heat. Just for 30 seconds to a minute.
4. While the mixer is running, add one egg. I got the eggs to room temp quickly by setting them in some warm (not hot) water. You want the egg to be fully incorporated before you add the second one. Add second egg until it’s fully combined.
5. This is where it got tricky. The mixture was still thick but I knew I didn’t need a whole third egg so I beat a third egg in a separate bowl and added a little at a time until the dough got to the right consistency. You want the dough to fall off the paddle with some staying on there and creating a “V” shape. I ended up adding about 1/2-3/4 of the egg. (I set aside the rest of the egg to use as an egg wash) The dough ended up being a TAD more liquidy than it probably should’ve been. It turned out good but they weren’t as pretty because the dough didn’t keep its shape as well when I piped it.
6. Next you transfer the dough to a piping bag (or ziplock) the dough isn’t super stiff so fill it before it’s cut open so it doesn’t all fall out. Cut the hole in the bag to be 1/2-3/4 inch. This made 35 cream puffs for me so I did 5×7 on my tray.
7. Pipe into little dollops. I underestimated how much dough I needed to use so I had to go back and add a little more on top of the initial dollop I piped so a lot of them have two layers which Claire Saffitz says is fine so I trust her lol. You don’t want any peaks so wet your finger and lightly flatten any points on top from piping.
8. I used the rest of my egg and added a splash of water and a grabbed a pastry brush to add a tiny egg wash to the tops of all the dollops to add a nice shine and browning.
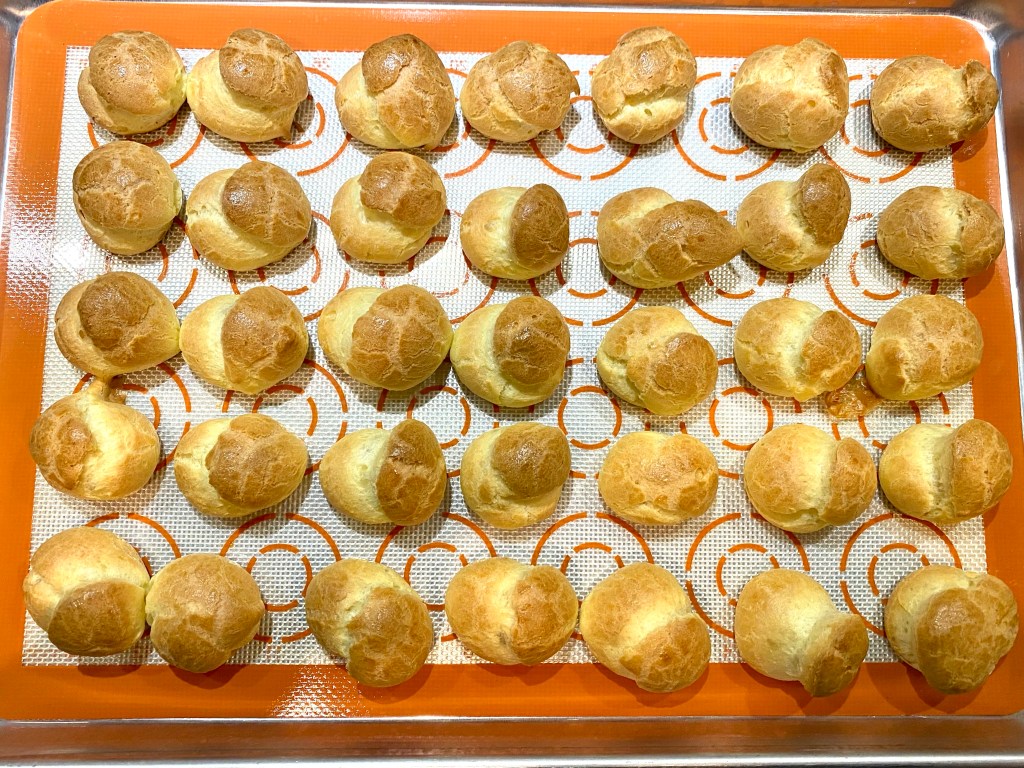
9. Put into an oven at 425° and IMMEDIATELY turn down to 375° when you put them in. The shock of heat at the beginning will help with the big puffing of the pastry.
10. Bake for 30-35 minutes until golden brown. Transfer to cooling rack.
11. While they’re cooling, you can make the filling. I had some extra cream so I did whipped cream but I kinda wanna try pastry cream because I’ve never tried it before. The recipe that I used for whipped cream literally made the EXACT amount I needed. So next time I actually might make a little more so I don’t run out.
12. I added cream, sugar, and vanilla to my stand mixer bowl that I had chilled in the fridge for the 30 minutes the puffs were baking. Use the whisk attachment and whisk on high, pausing to scrape down edges, until you achieve stiff peaks.
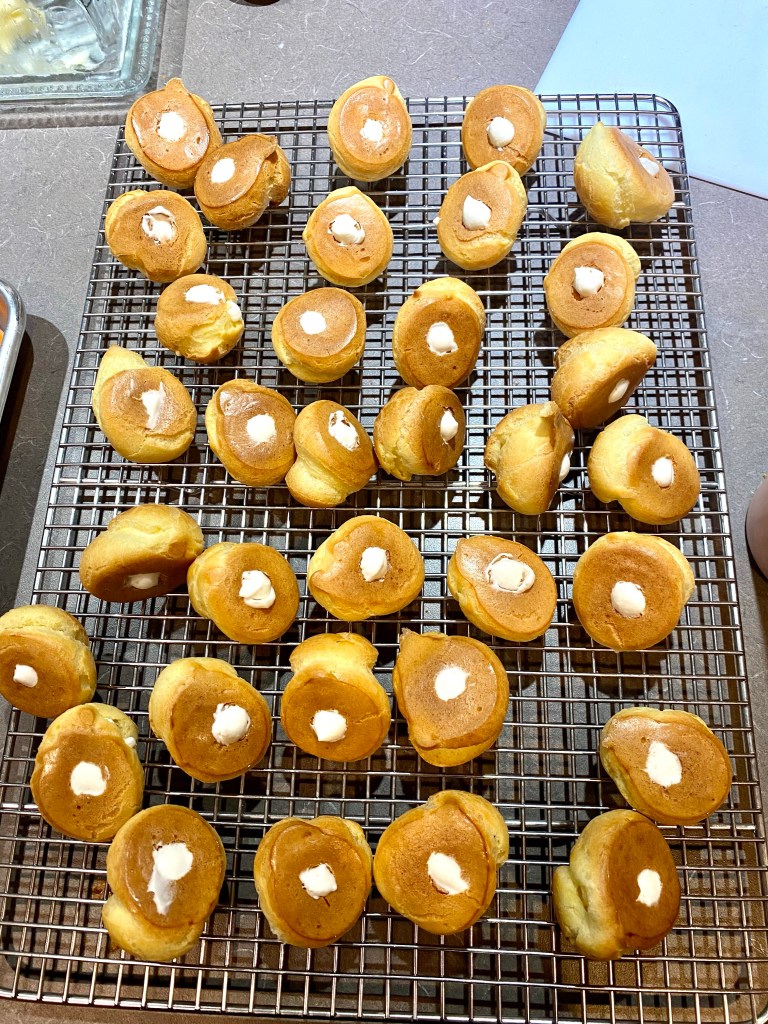
13. You can do it where you slice off the top and fill it and put the hat back on but Cooper said he liked it where it’s all one thing and piped through the bottom so that’s what I did. I took a paring knife and made a tiny slit at the bottom so my piping tip could easily get in.
15. Transfer whipped cream to piping back with a metal tip at the end. The pattern of the tip doesn’t matter but I wanted the metal do be able to easily push into the puff and not be floppy. I only transferred half the whipped cream so it didn’t get to warm in my hand. You can kinda feel the puff filling with the whipped cream and “pushing” your tip back out of the puff. After I filled them all I transferred them to my freezer. You could probably refrigerate but I feel like the freezer is best because then they thaw pretty quickly.
Overall these were fun to make and I’d like to try them with pastry cream as well as a savory cheese puff!